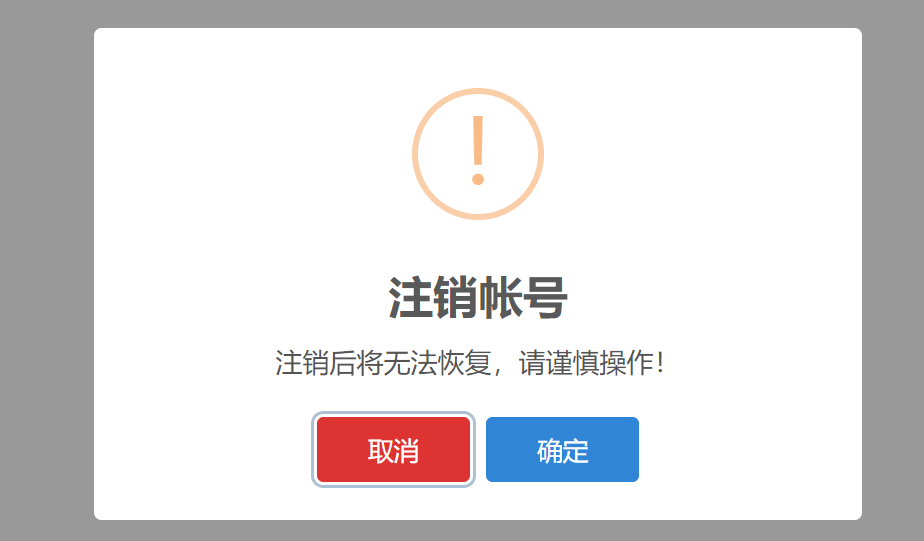
一、多重弹窗(重复确认)
1
| <button type="button" id="demo2">demo2</button>
|
1
2
3
4
5
6
7
8
9
10
11
12
13
14
15
16
17
18
19
20
21
22
23
24
25
26
27
28
29
30
31
| <script type="text/javascript">
$('#demo2').on('click', function() {
Swal.fire({
type: 'warning',
title: '注销帐号',
text: "注销后将无法恢复,请谨慎操作!",
confirmButtonColor: '#3085d6',
confirmButtonText: '确定',
showCancelButton: true,
cancelButtonColor: '#d33',
cancelButtonText: "取消",
focusCancel: true,
reverseButtons: true
}).then((isConfirm) => {
try {
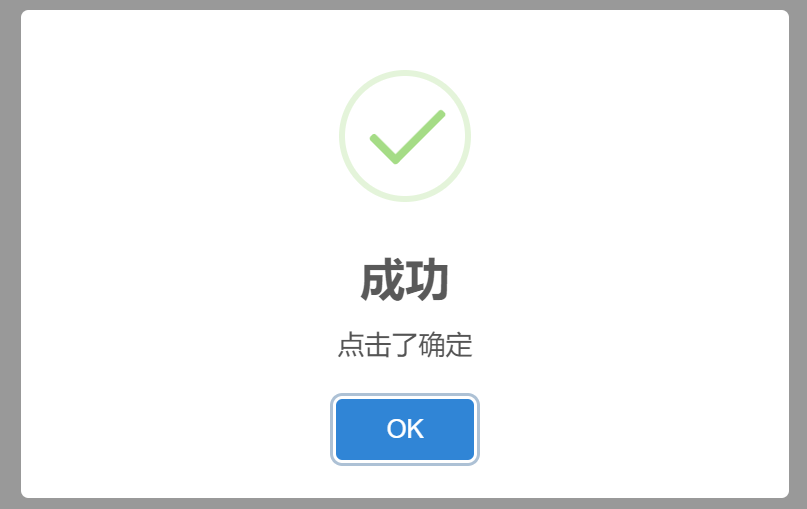
if (isConfirm.value) {
Swal.fire("成功", "点击了确定", "success");
}
else {
Swal.fire("取消", "点击了取消", "error");
}
} catch (e) {
alert(e);
}
});
})
</script>
|
( focusCancel: true自动聚焦取消键, 按钮还是左边取消键看得舒服一点 强迫症reverseButtons: true )
测试截图:
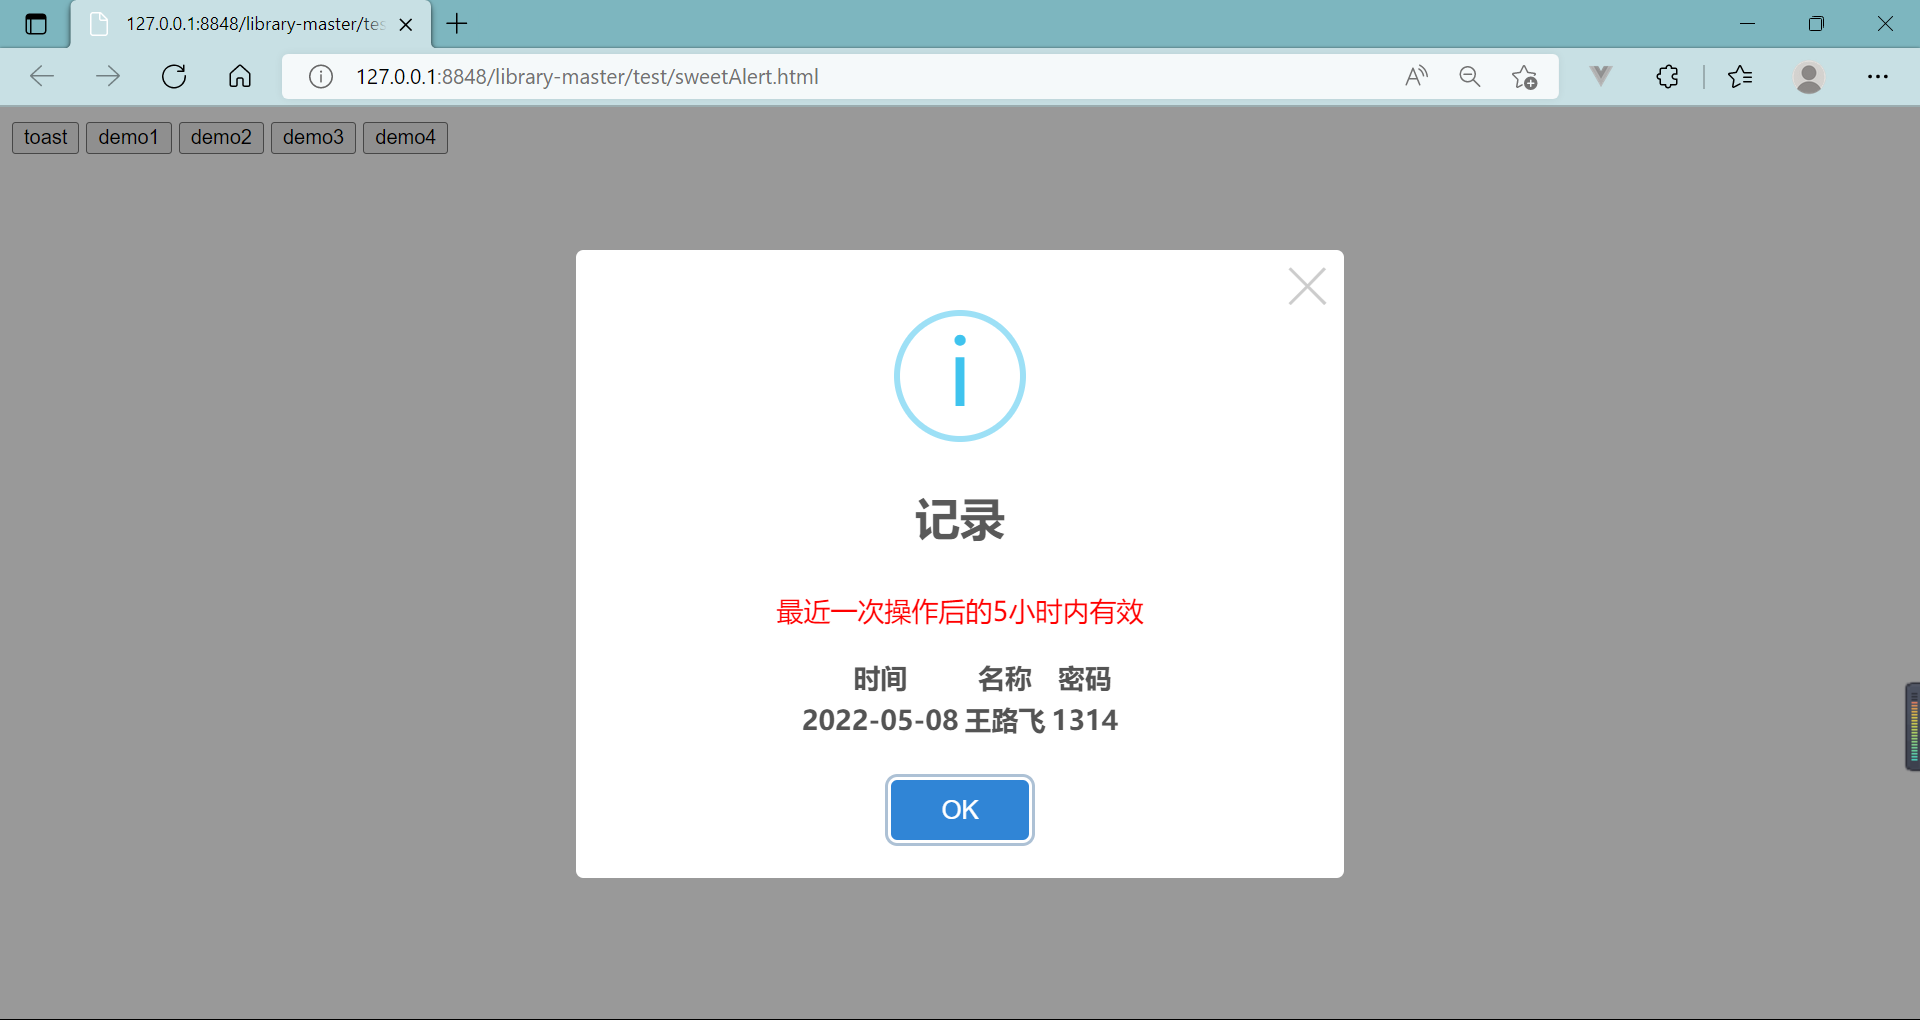
二、在SweetAlert2中添加html标签内容
SweetAlert2测试如图:
我拿bootstrap的模态框对比:
虽然两个都好看,但还是觉得bootstrap的模态框更好用,写起来更方便。
话不多说了 先放上sweetAlert的测试代码:
1
2
3
4
5
6
7
8
9
10
11
12
13
14
15
16
17
18
19
20
21
22
23
24
25
| $('#demo3').on('click', function() {
var content = "无记录";
var msg="";
if (!msg) {
content = "<p style='color: red'>最近一次操作后的5小时内有效</p> "
+ "<table class='table_list' style='margin:auto'>"
+ "<tr>"
+ " <th class='js_tr_data'> 时间</th> <th>名称</th> <th>密码</th>"
+ "</tr>"
+ "<tr>"
+ " <th class='js_tr_data'> 2022-05-08</th> <th>王路飞</th> <th>1314</th>"
+ "</tr>"
+ "</table>"
}
Swal.fire({
title: '<strong>记录</strong>',
type: 'info',
html: content,
focusConfirm: true,
showCloseButton: true,
})
})
|
注:这里的msg数据为空,仅仅是测试,数据获取可通过用ajax返回后台数据即可。
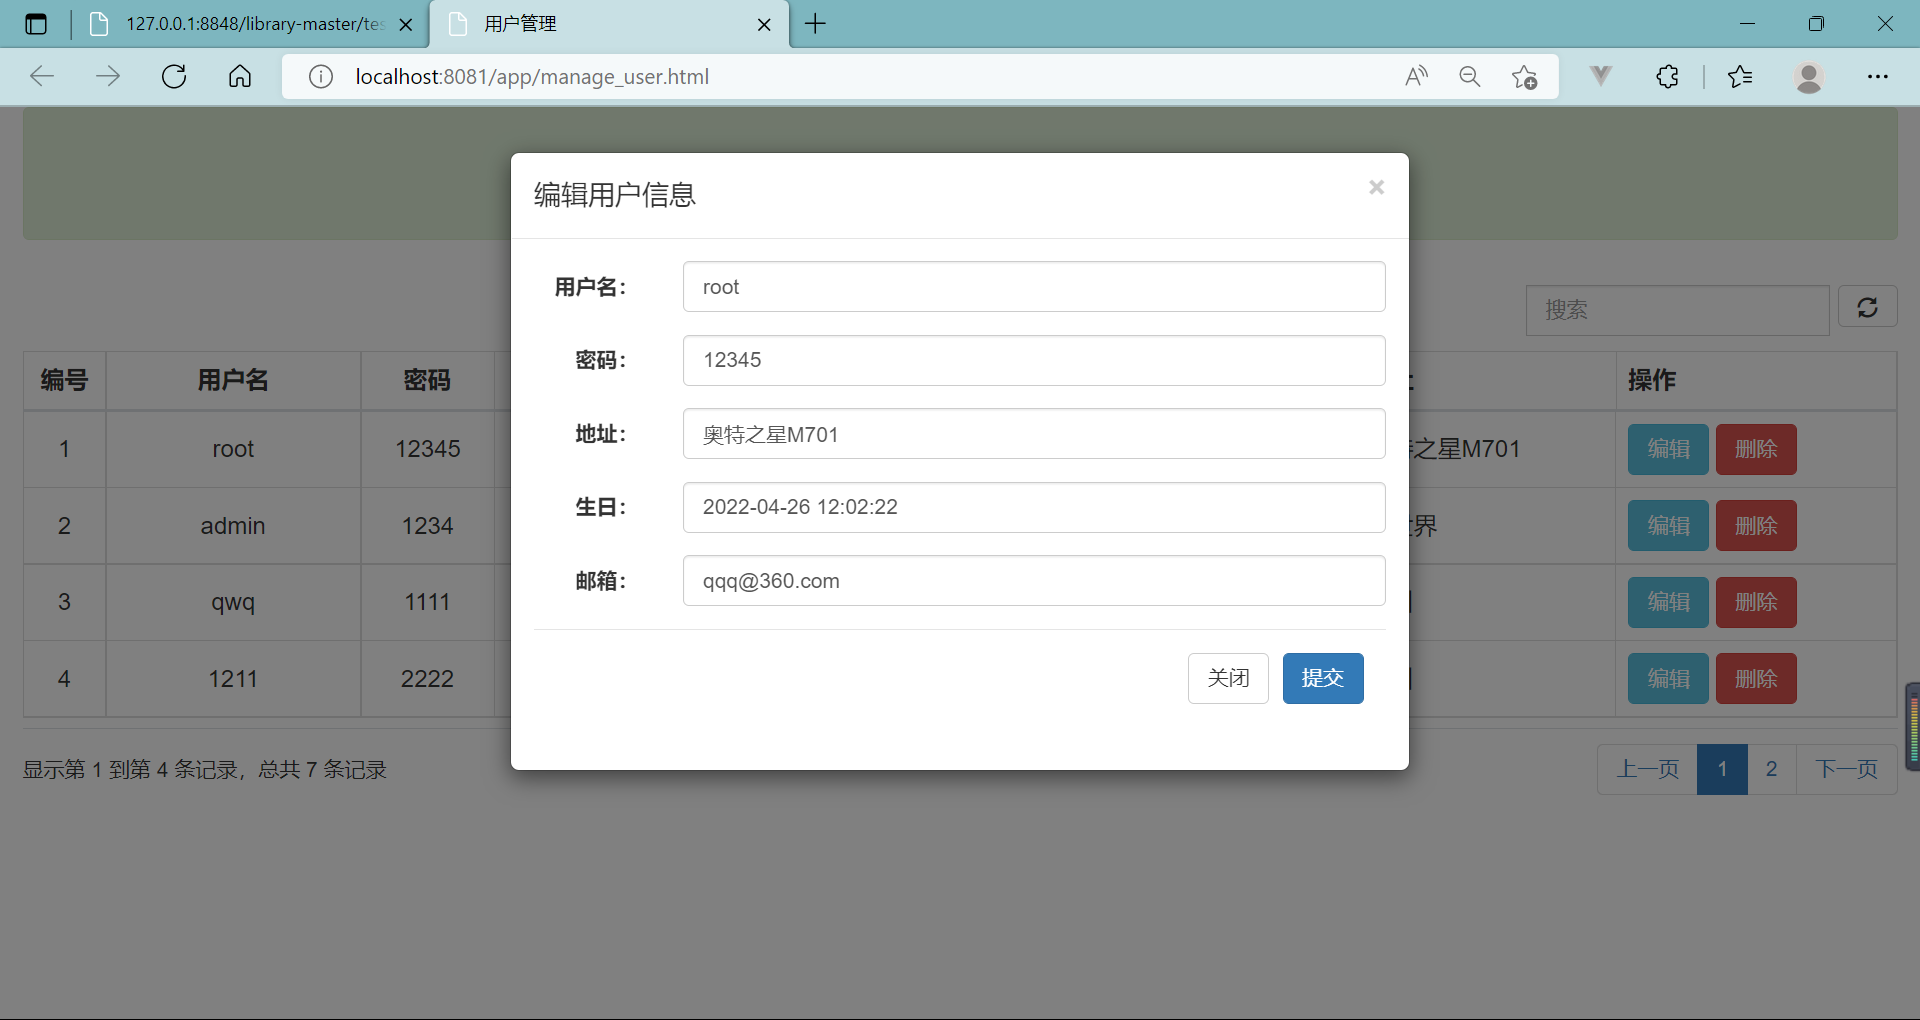
三、与Ajax搭配使用
下面展示的测试登录案例:
1
2
3
4
5
6
7
8
9
10
11
12
| // 部分代码
<p>
<select name="status">
<option>用户</option>
<option>管理员</option>
</select>
</p>
<p class="login button">
<input type="button" value="登录" />
</p>
|
1
2
3
4
5
6
7
8
9
10
11
12
13
14
15
16
17
18
19
20
21
22
23
24
25
26
27
28
29
30
31
32
33
34
35
36
37
38
39
40
41
42
43
44
45
46
47
48
49
50
51
52
53
54
55
56
57
58
59
60
61
|
$('.login').on('click', function () {
var username = $('#username1').val();
var password = $('#password1').val();
var status = $('select').val();
var str = {
"username": username,
"password": password,
"status": status
}
$.ajax({
url: 'http://localhost:8081/app/user?action=loginUser&&username='+username+'&&password='+password+"&&status="+status,
type: 'get',
success: function (res) {
var res = JSON.parse(res);
var code = res.code;
const Toast = Swal.mixin({
toast: true,
showConfirmButton: false,
timer: 3000
});
Toast.fire({
type: 'success',
title: '登录成功!'
});
setTimeout(function () {
if ("管理员" == code) {
window.location.href="manager.html"
} else if ("用户" == code) {
window.location.href="zhuye_1.html"
}
}, 2000)
},
error: function () {
const Toast = Swal.mixin({
toast: true,
showConfirmButton: false,
timer: 3000
})
Toast.fire({
type: 'error',
title: '系统繁忙'
})
},
})
})
|
运行截图:
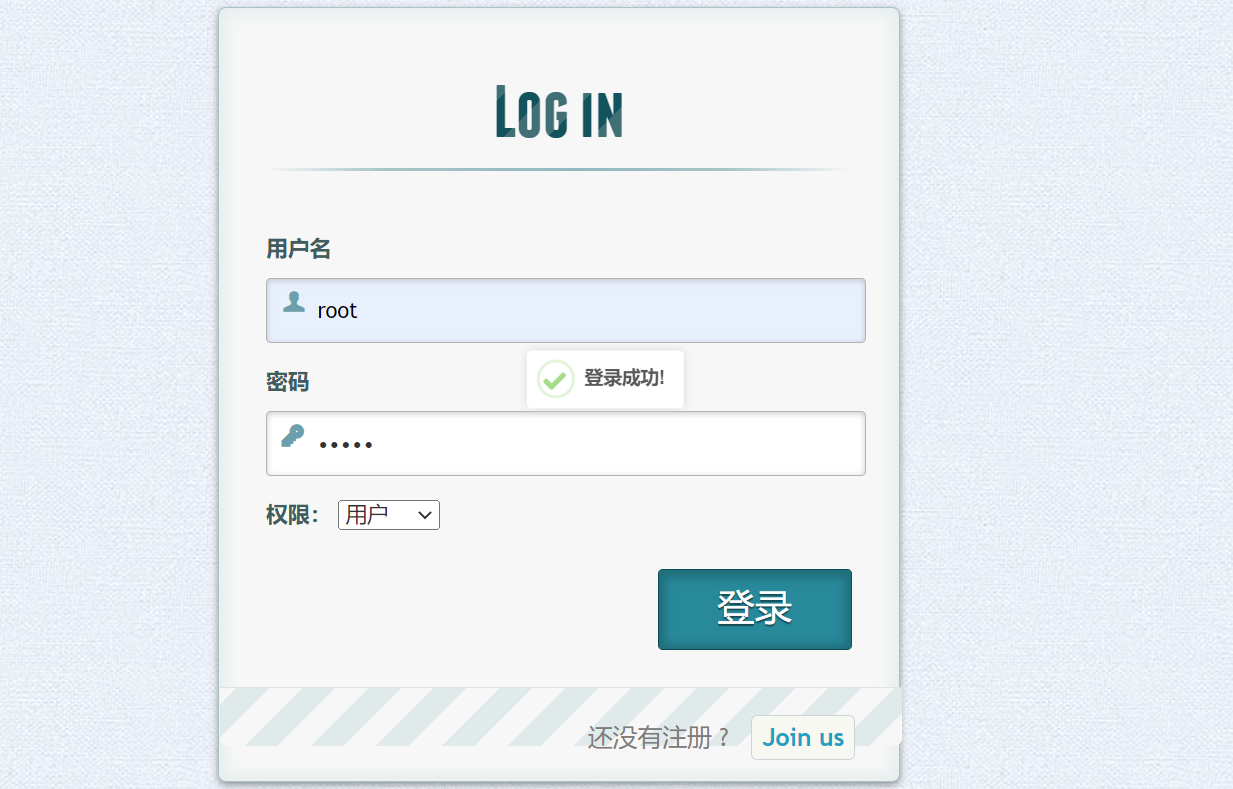
只完成登录成功显示的部分, 后台返回的msg,如密码错误等信息显示还未显示,时间充裕的话再补上吧 !